In my first run through this face-up, I ended up with the following.


After having finalized the aforementioned face-up, I have done comparisons to other DollfieⓇ Dream face-ups and realized that my lash design was seriously lacking. That's when I attempted to make modifications to the lashes to thicken them up a bit. Harsh reality bit me when I realized that it was not easy to make additions with watercolor pencils on top of the final UV seal coating. I ended up chipping away a portion of her right lash when I dug a little too hard into the UV coat to get any marks on its surface.


Instead of trying to rectify the error by working on that small area, I went ahead to do the next best thing: efface the entire face-up with alcohol!


Now, I can start over from scratch with the blank slate and do things better. This time, I decided to document the entire face-up process on video:
which resulted in the final series of images:


I left face-up #2 alone for a few weeks because reasons. During this time, I came across some professionally faced-up DollfieⓇ Dream that even included the use of lashes, which made me realize that my lash design looked stiff and unnatural.
So going back to the drawing board, I made some practice sketches of natural lash curves which gave me a deeper understanding towards how Japanese illustrators and animators interpret and apply their lash drawings on their characters.

There is a natural up-swerve that curves down and outwards, but because the lashes are a single color, it all blends into a single solid block of dark lash color by perspective interpretation. But one needs to always be mindful that the single block of lashes are many strands curving down towards the viewer and then slightly outwards.
After gaining this understanding, I went ahead to efface DDH-06 for the second time, and started a new template for the lashes, starting lightly with a brown layer.

Once satisfied, I proceeded to commit to the final lash design:


At this point, I was almost ready to stop here, since the lash application process seemed very complicated. But being the anally OCD artist that I am, I decided to go for the grand finale.
I bought and then applied actual lashes.
After measuring the upper lid length, I realized that I can use a single lash for both eyes if I cut that single lash array in half:

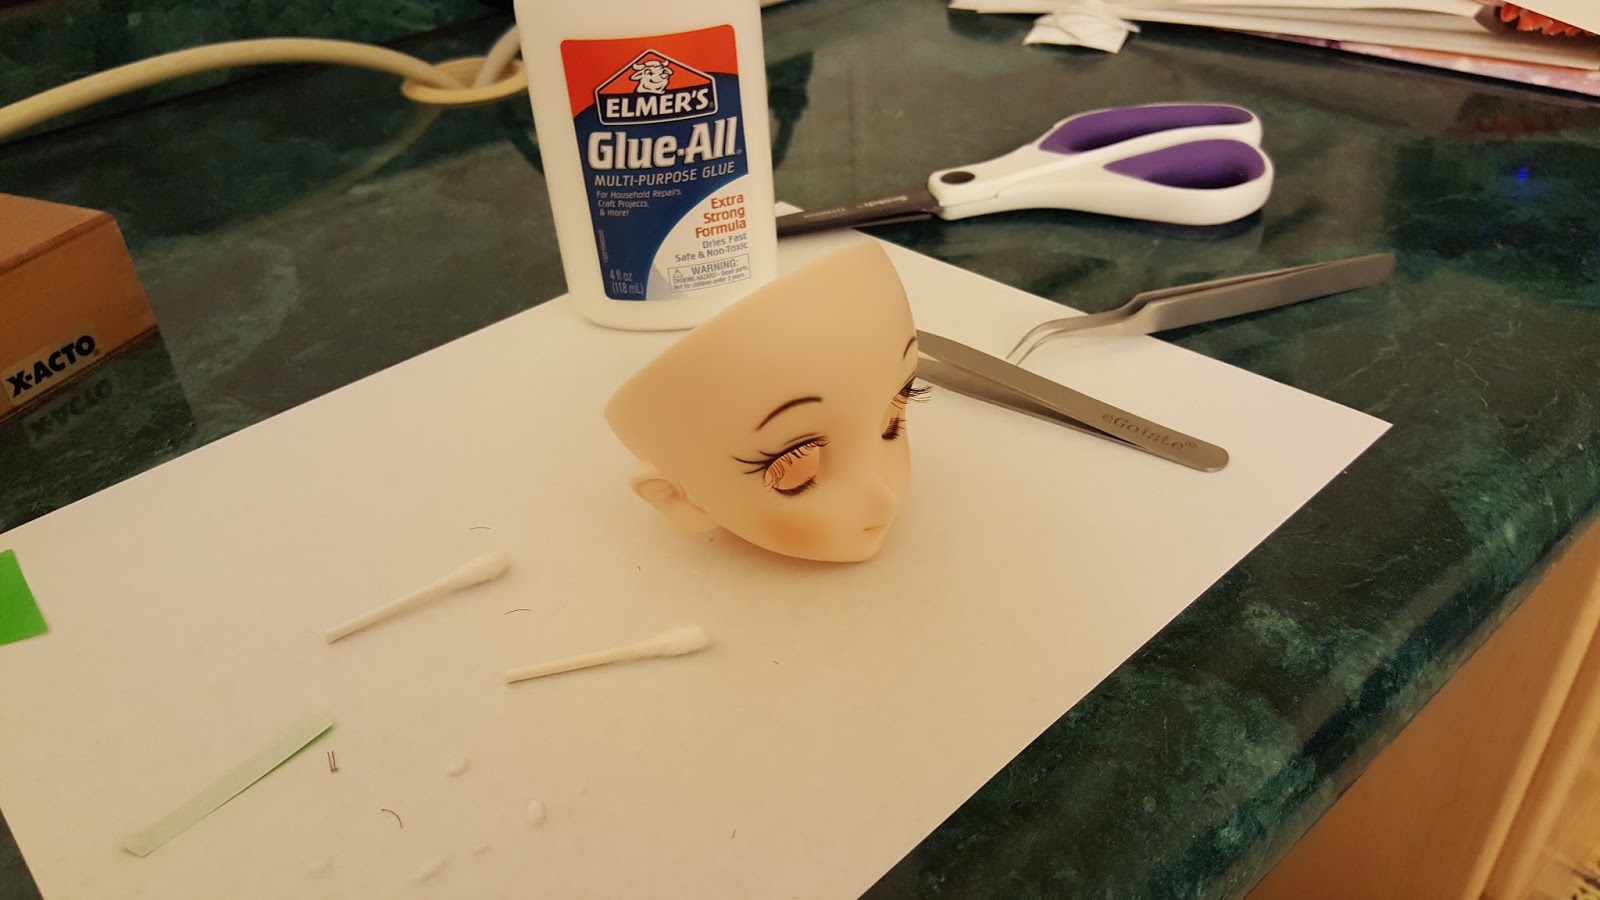
I proceeded to apply the lashes to the upper lid first. I do NOT wish lash application on my enemies, for this is perhaps the most difficult part of the face-up process.
After fighting with the sticky strip that holds the lash array in place, and carefully applying the lash strip to the light layer of Elmer's Glue, I was finally able to hold the upper lash in place. I left it on to cure for around 30 minutes. During this time, while the glue is progressively drying, I made sure to adjust the lash strip to curve the way I wanted it to curve before the glue completely dried.


After 30 minutes, I went ahead to apply the bottom lashes.


Blu Tack is a mounting putty that works perfectly for mounting the eyes to the socket. It is non-toxic and virtually permanent, but does not stick permanently as you can remove it with hardly any residue leftover. A variety of companies make similar products, and Fun-Tak is one such product. It is sold in Staples. Being a member of Staples, I scored 3 free Fun-Tak packs since Staples was offering $10 to customers as a back-to-school promotion.

I proceeded to mount the Blue Rose Garden eyes that Growcian ended up giving to me to the sockets.

I am spectacularly pleased with the results.


No comments:
Post a Comment
Note: Only a member of this blog may post a comment.